![White Logo Blue Banner copy-100.jpg]](https://knowledge.fisikal.com/hs-fs/hubfs/White%20Logo%20Blue%20Banner%20copy-100.jpg?height=50&name=White%20Logo%20Blue%20Banner%20copy-100.jpg)
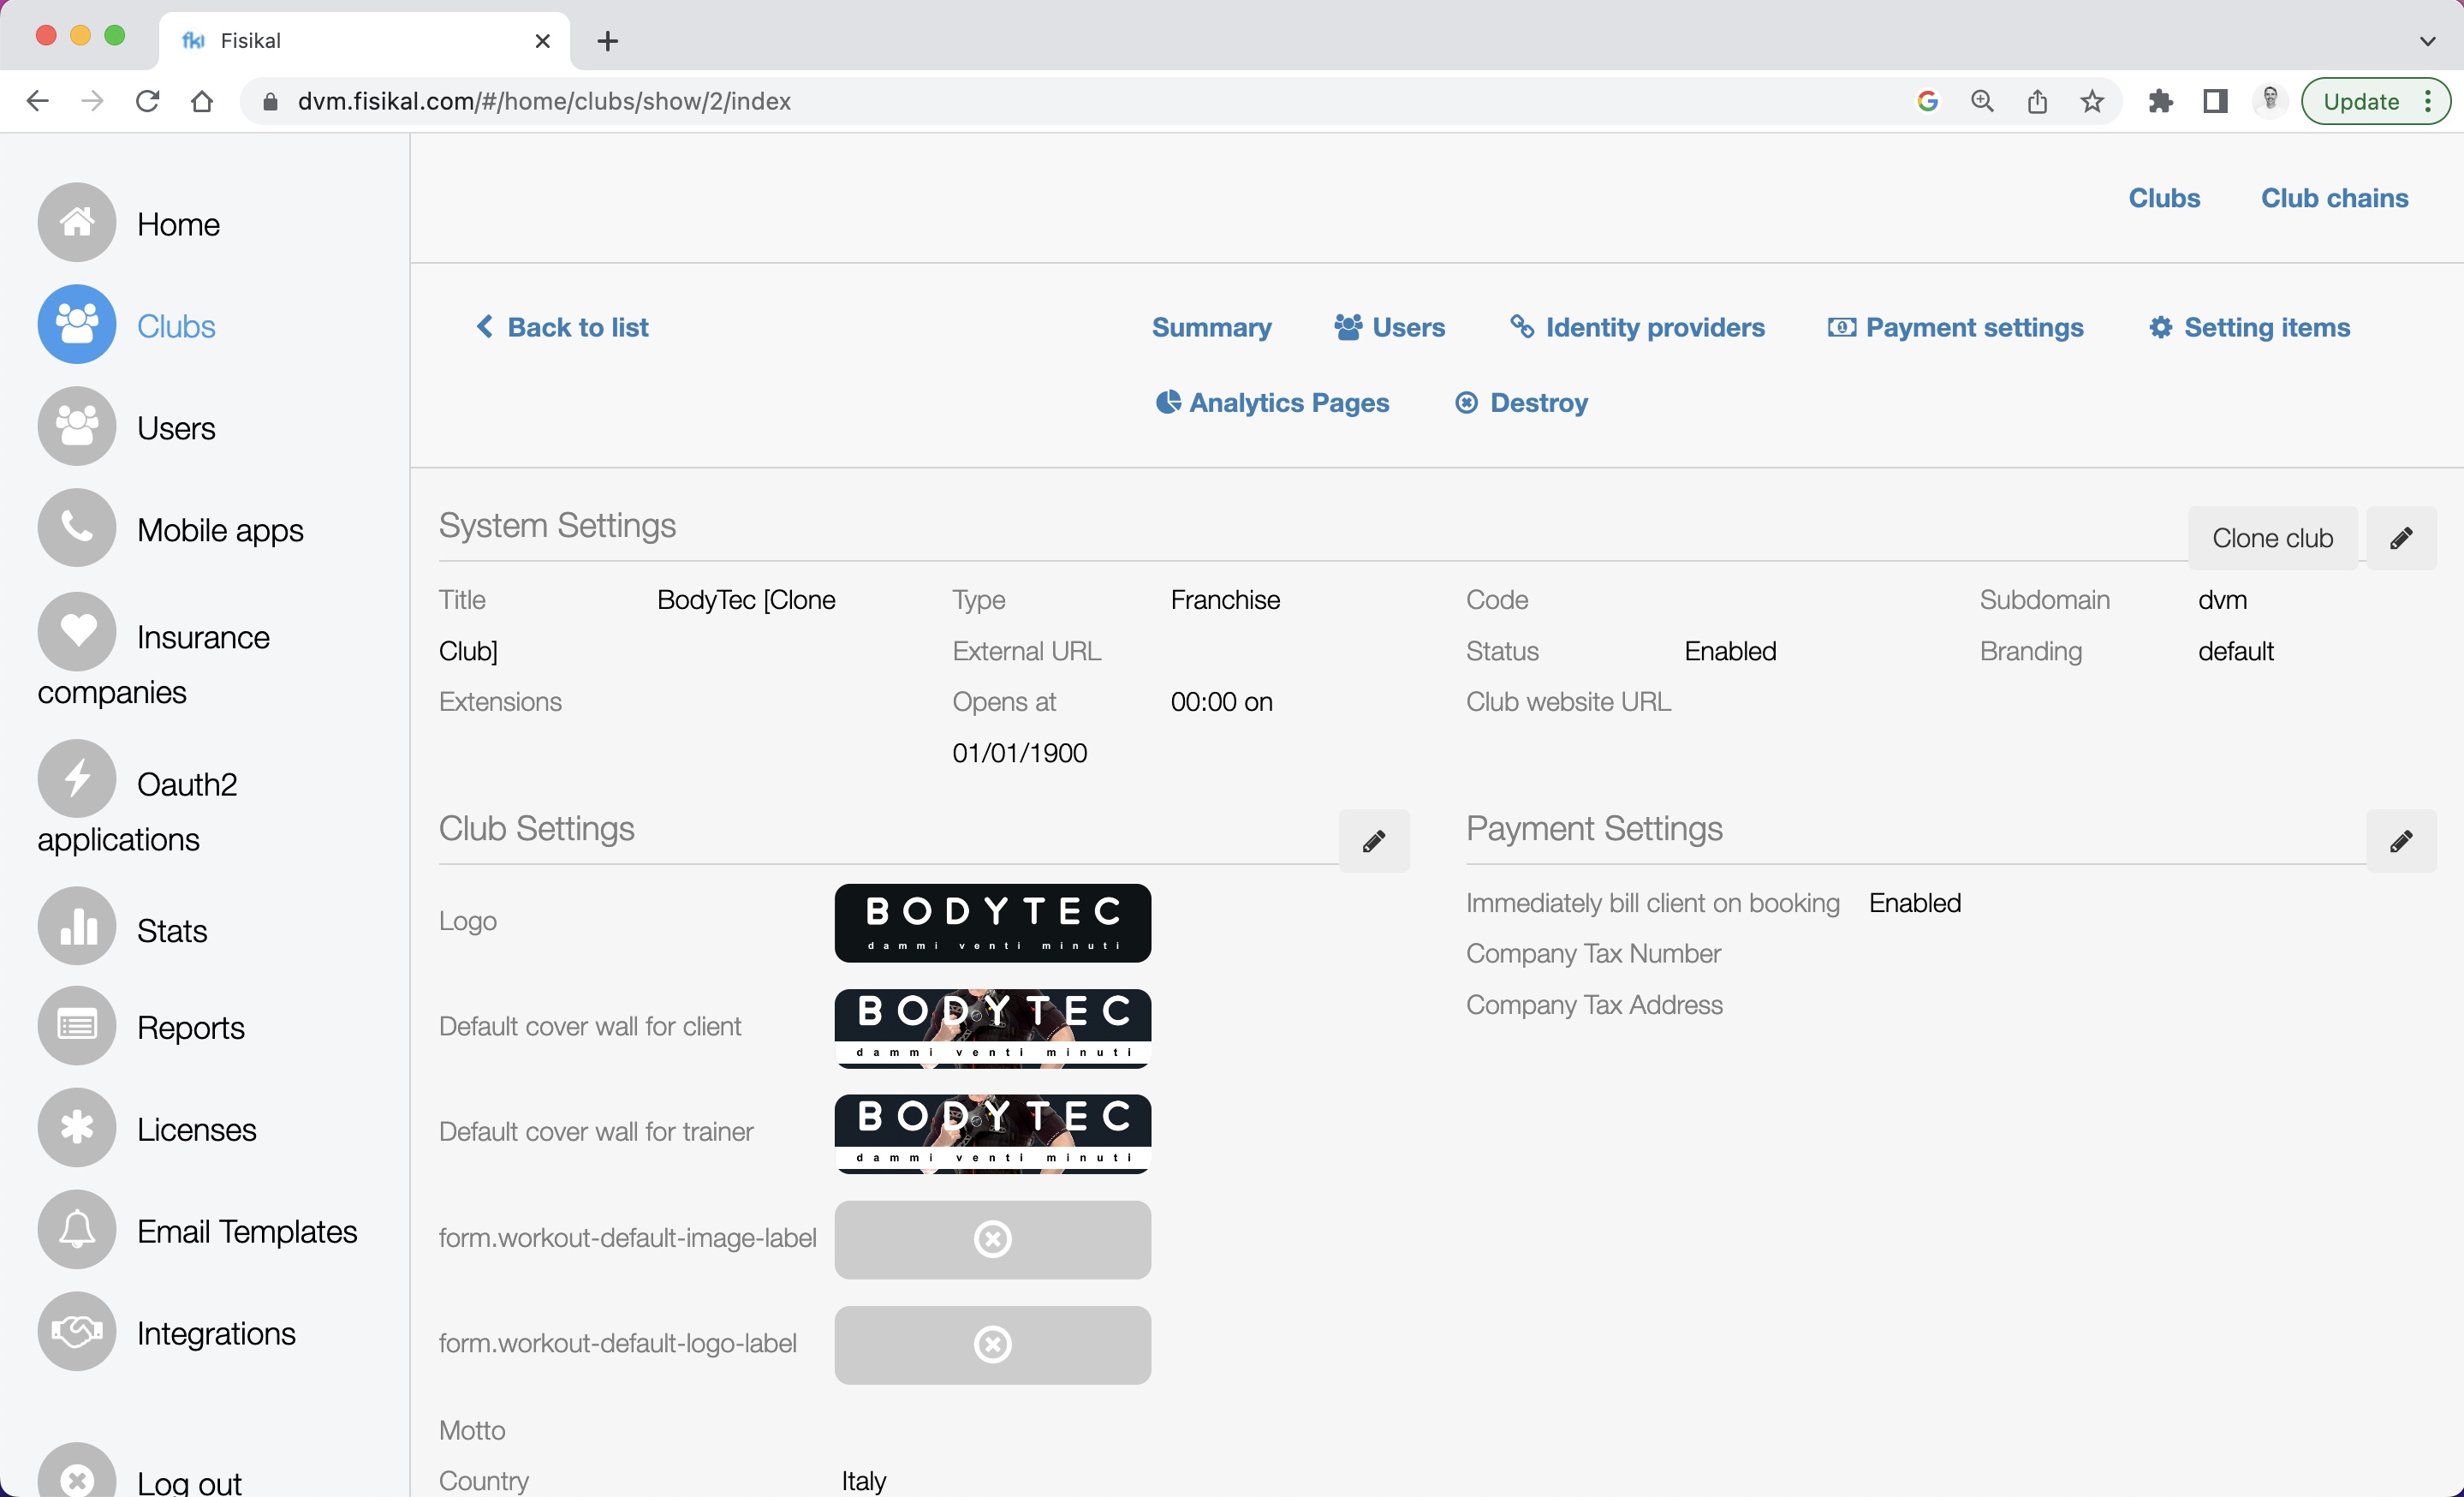
Administrators should log into https://dvm.fisikal.com/ and navigate to CLUBS.
Move your mouse over the "Bodytec [Clone Club] and on te SUMMARY page in SYSTEM SETTINGS select the CLONE CLUB button on the right hand side.
Enter the name of the franchise club and keep FULL COPY > YES selected. Select COPY to confirm the action.
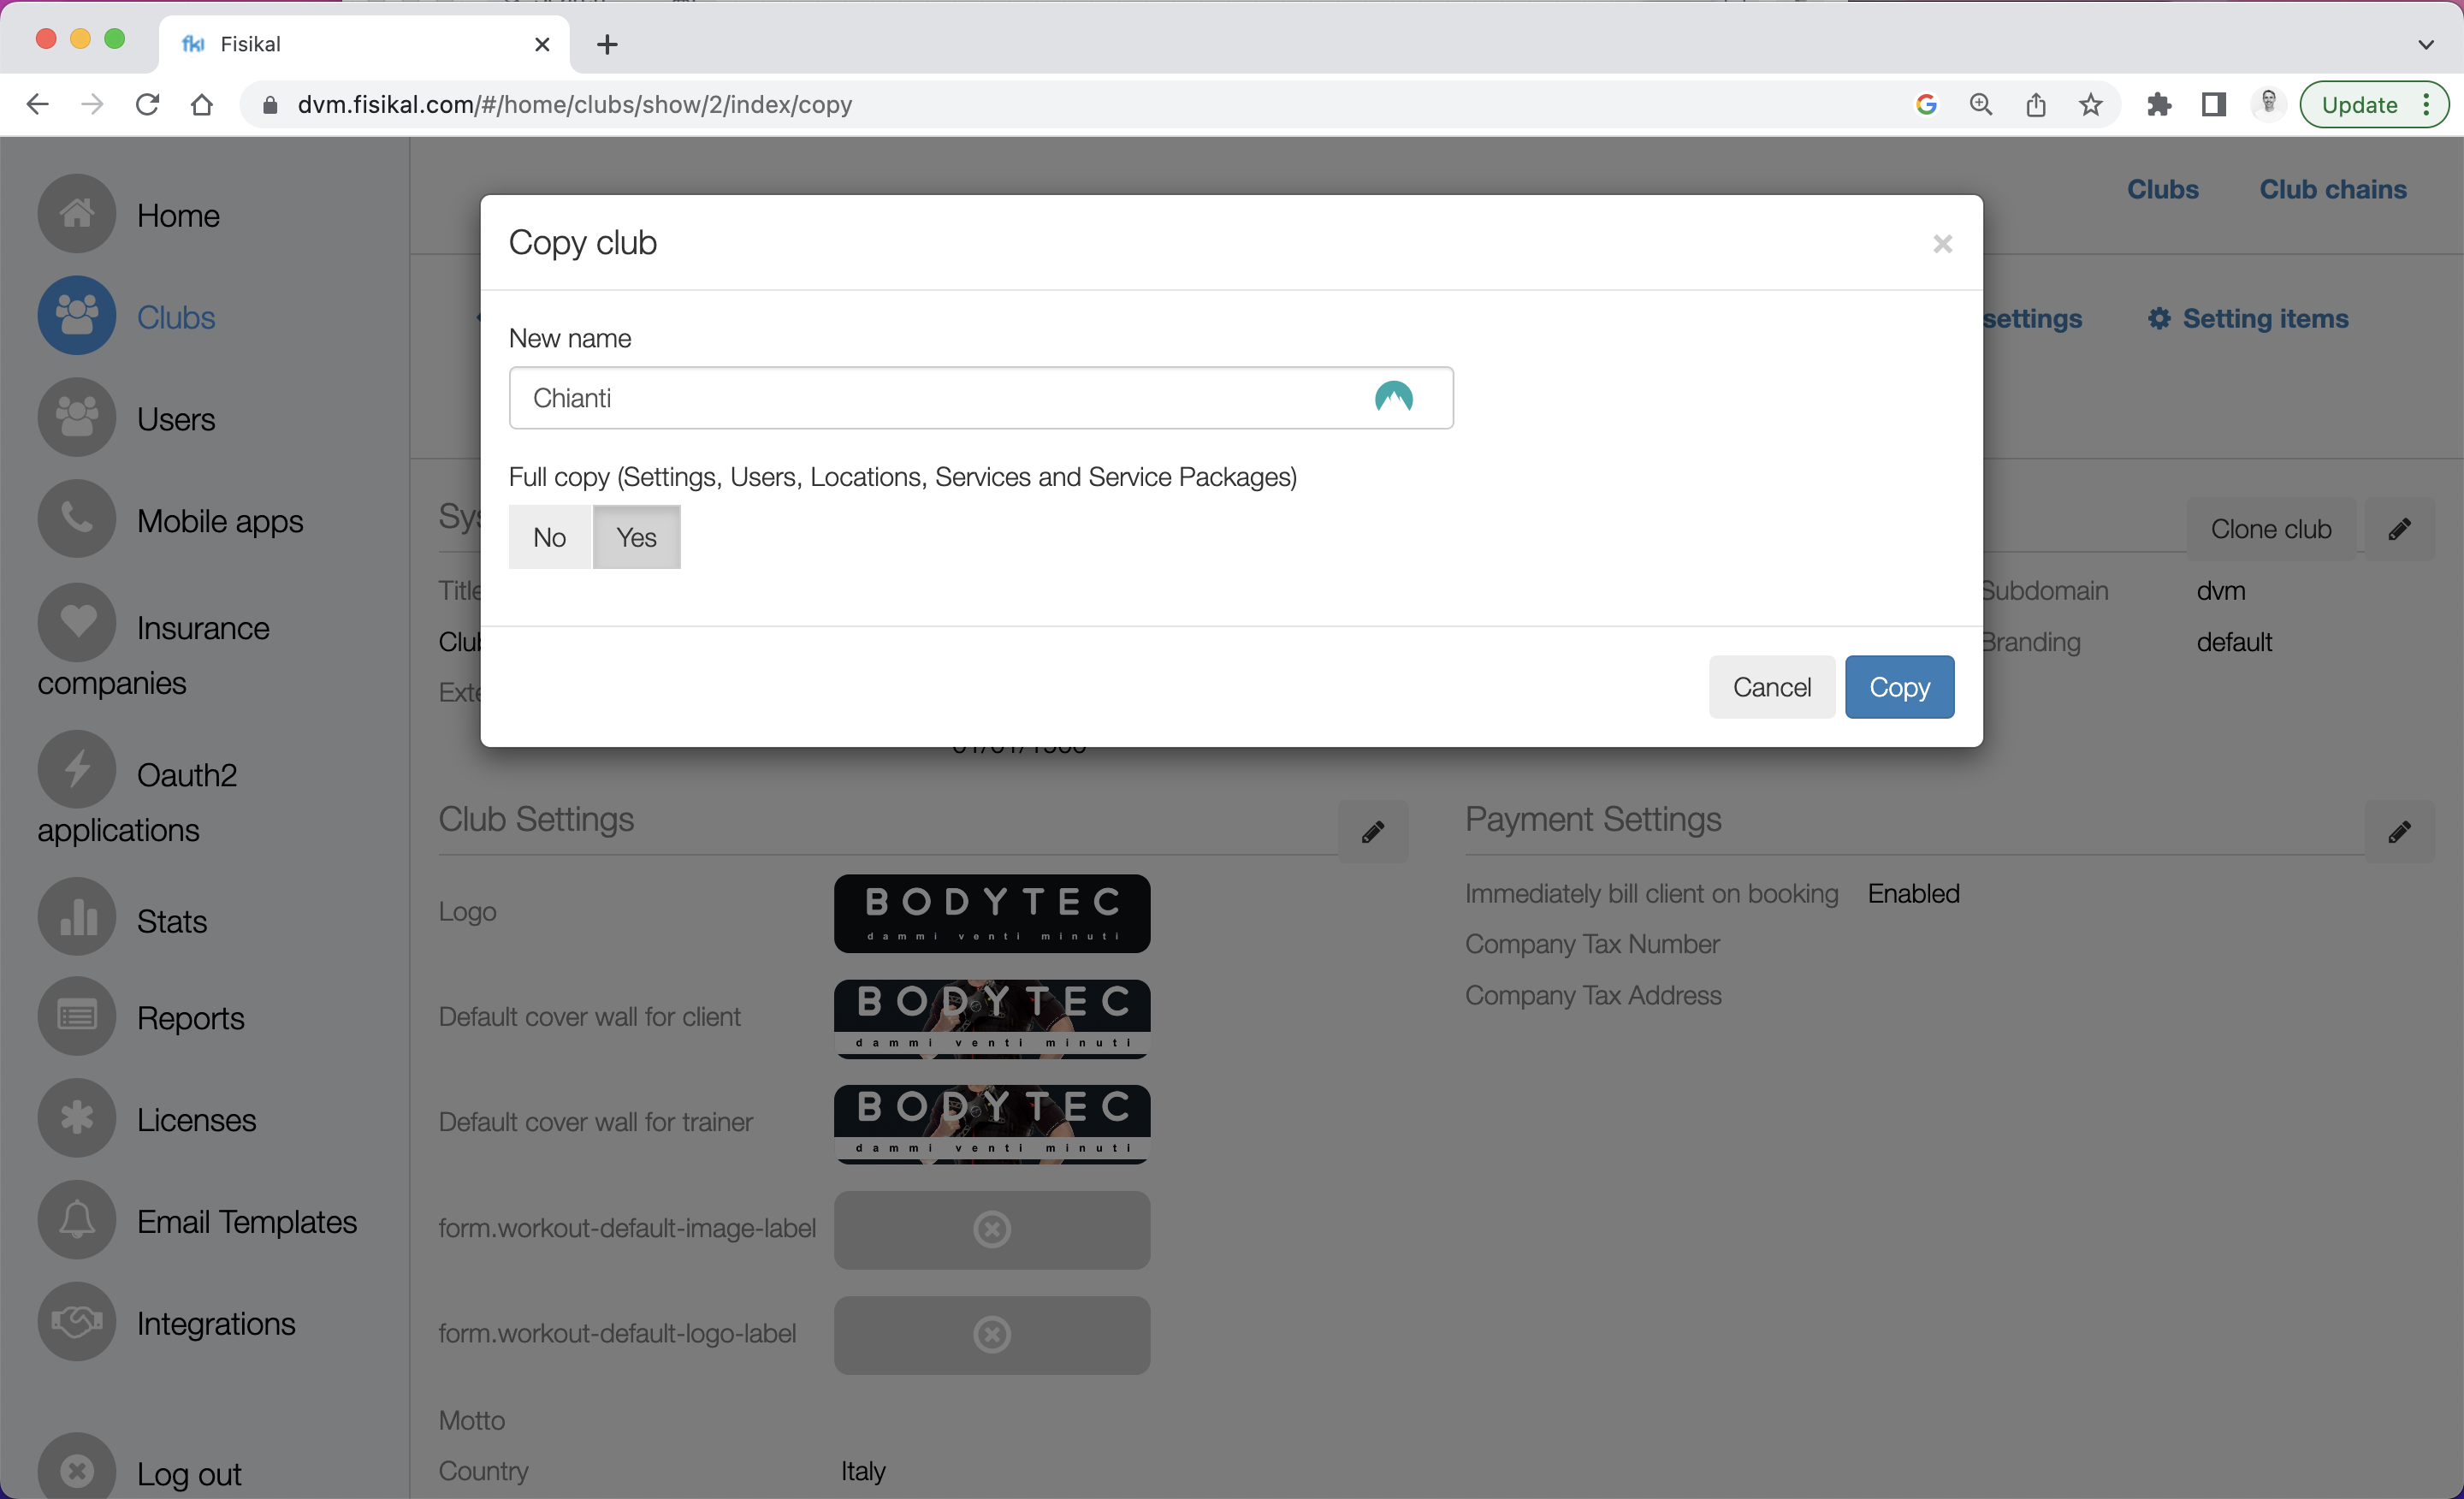
You will be presented with a screen showing "We started to clone the club and will notify you by email when we finish."
Once the club has been created you will see it in the list of clubs. Select the name of the club and then select the USERS tab.
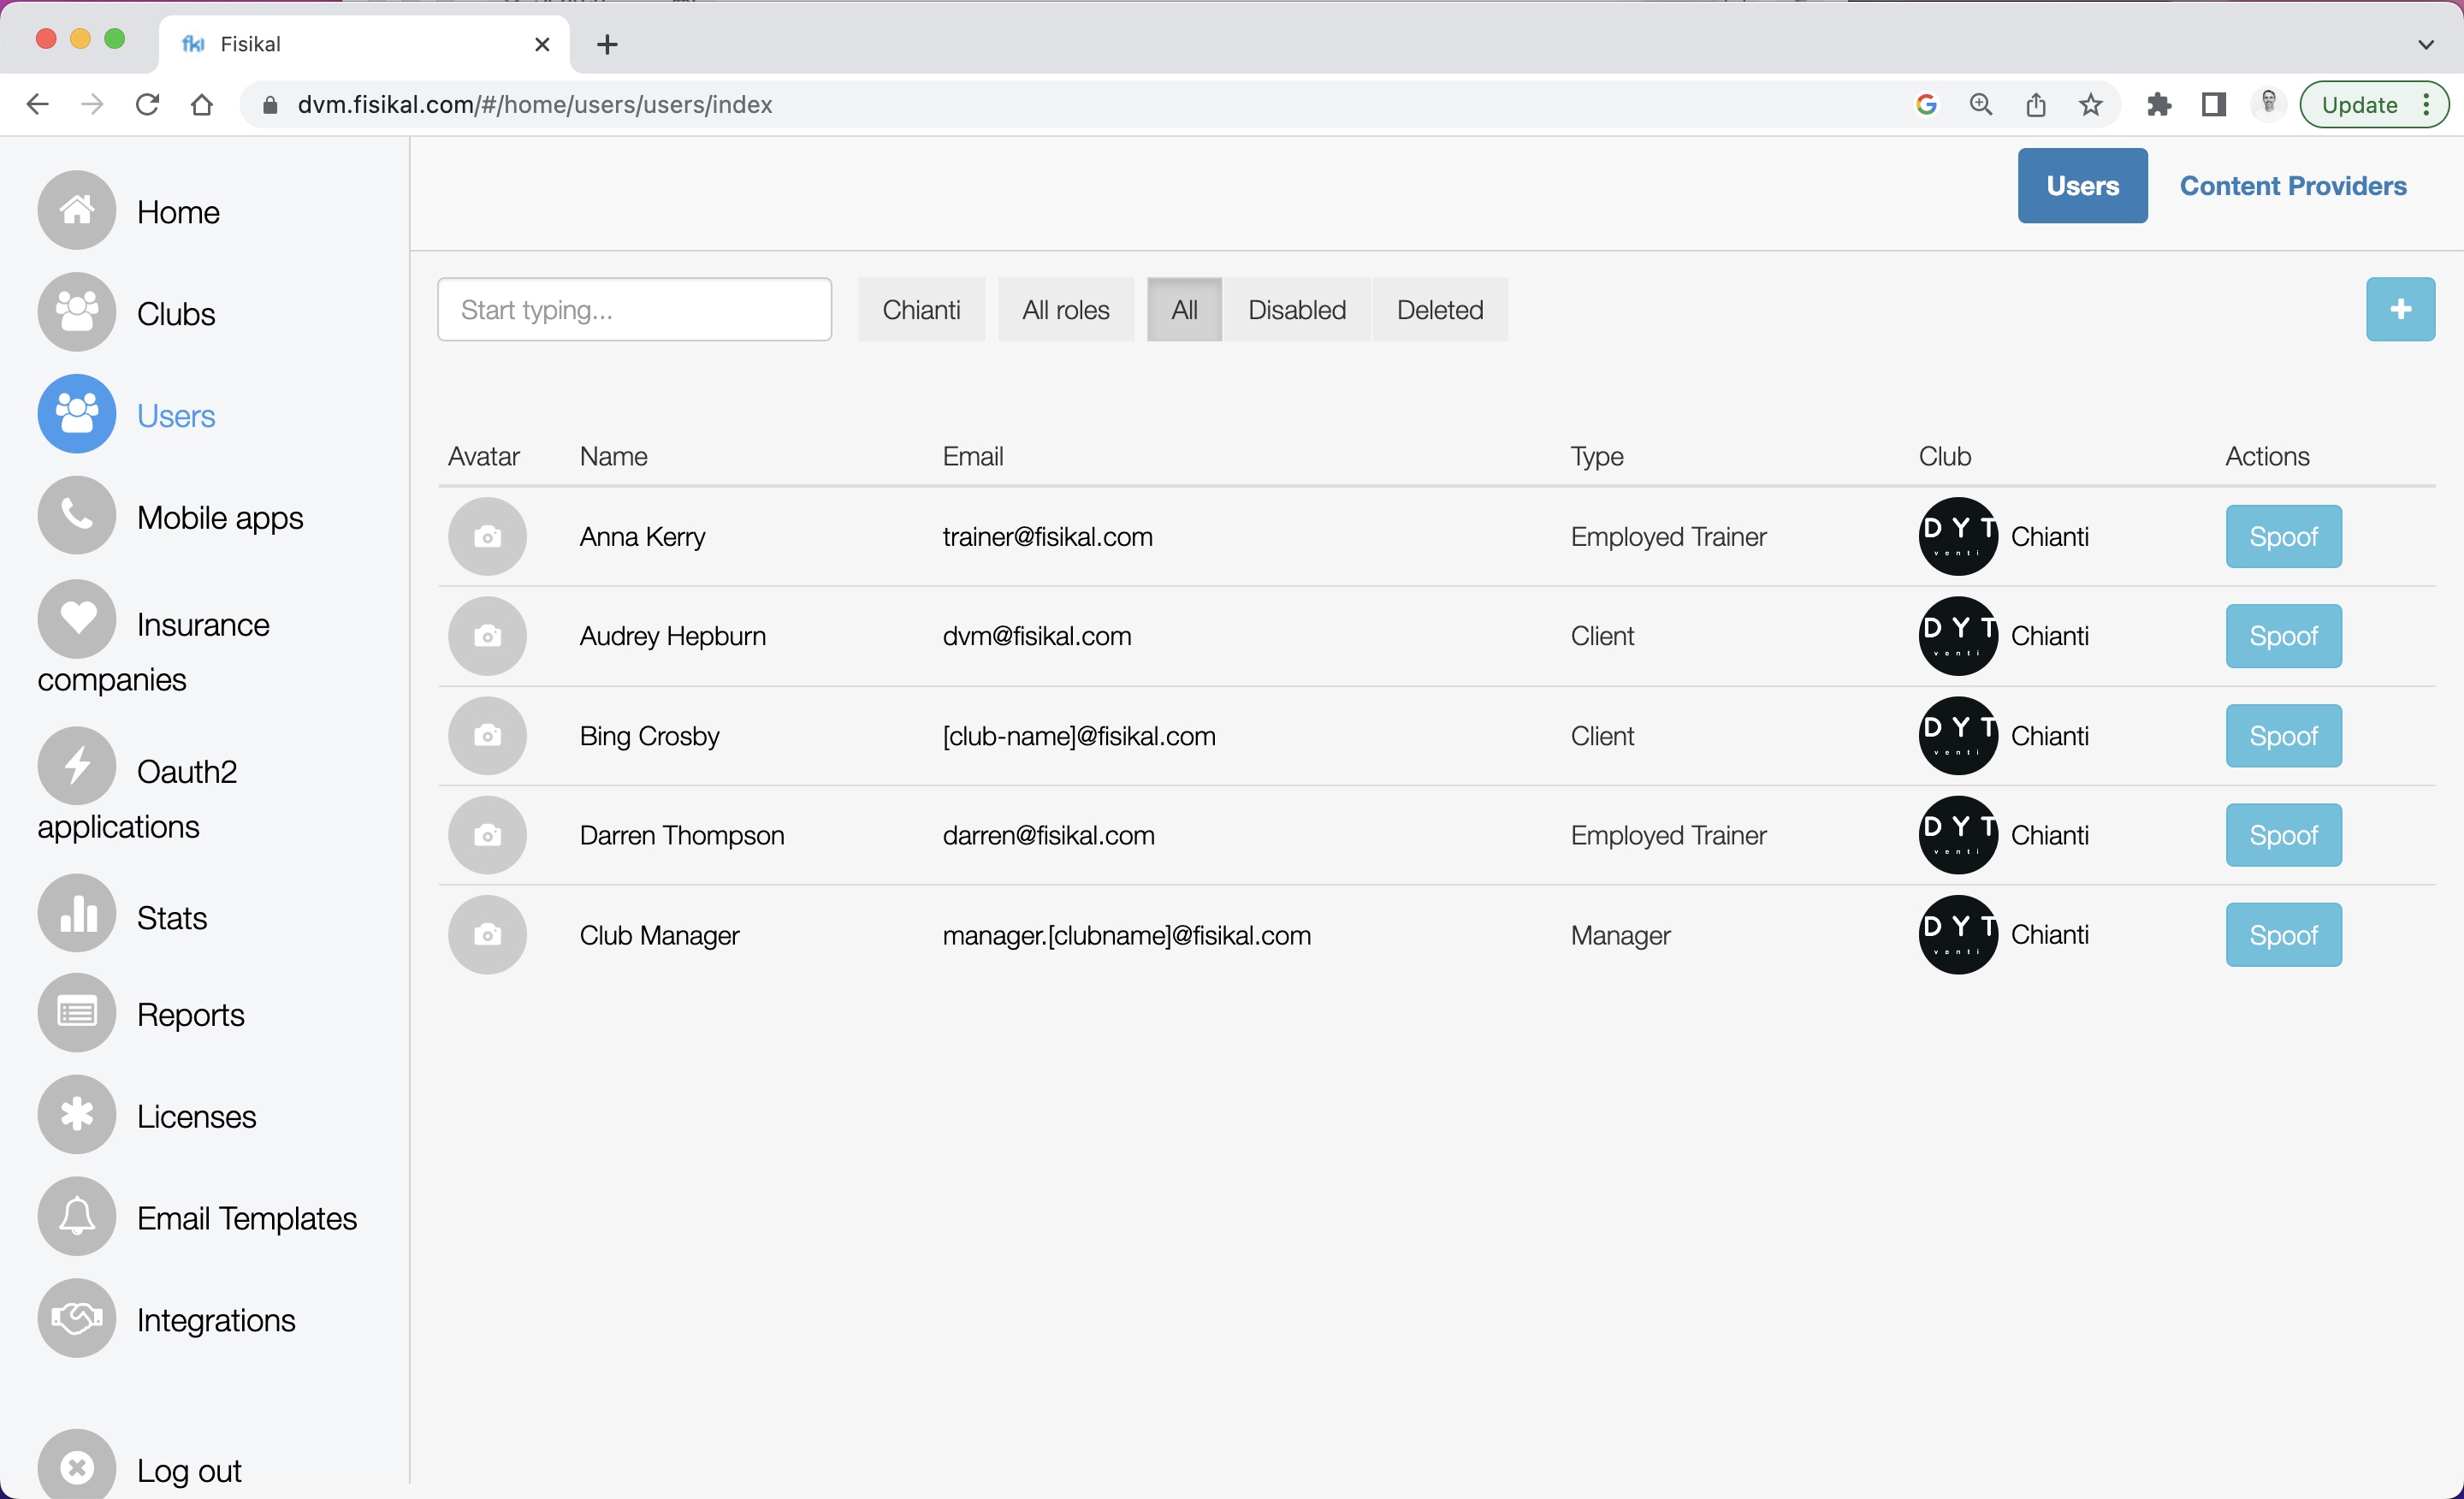
On this page you should edit the email address of the CLUB MANAGER to include the name of the club, so it should be in the following format:
manager.[club name]@fisikal.com
This will be a generic manager profile used by Bodytec to log into the franchisee site to help support their use of the product.
Administrators should also change the name of the Test Client in the following format:
[club name]@fisikal.com
This user profile can then be used to test and support franchisors to check that their club is configured correctly.
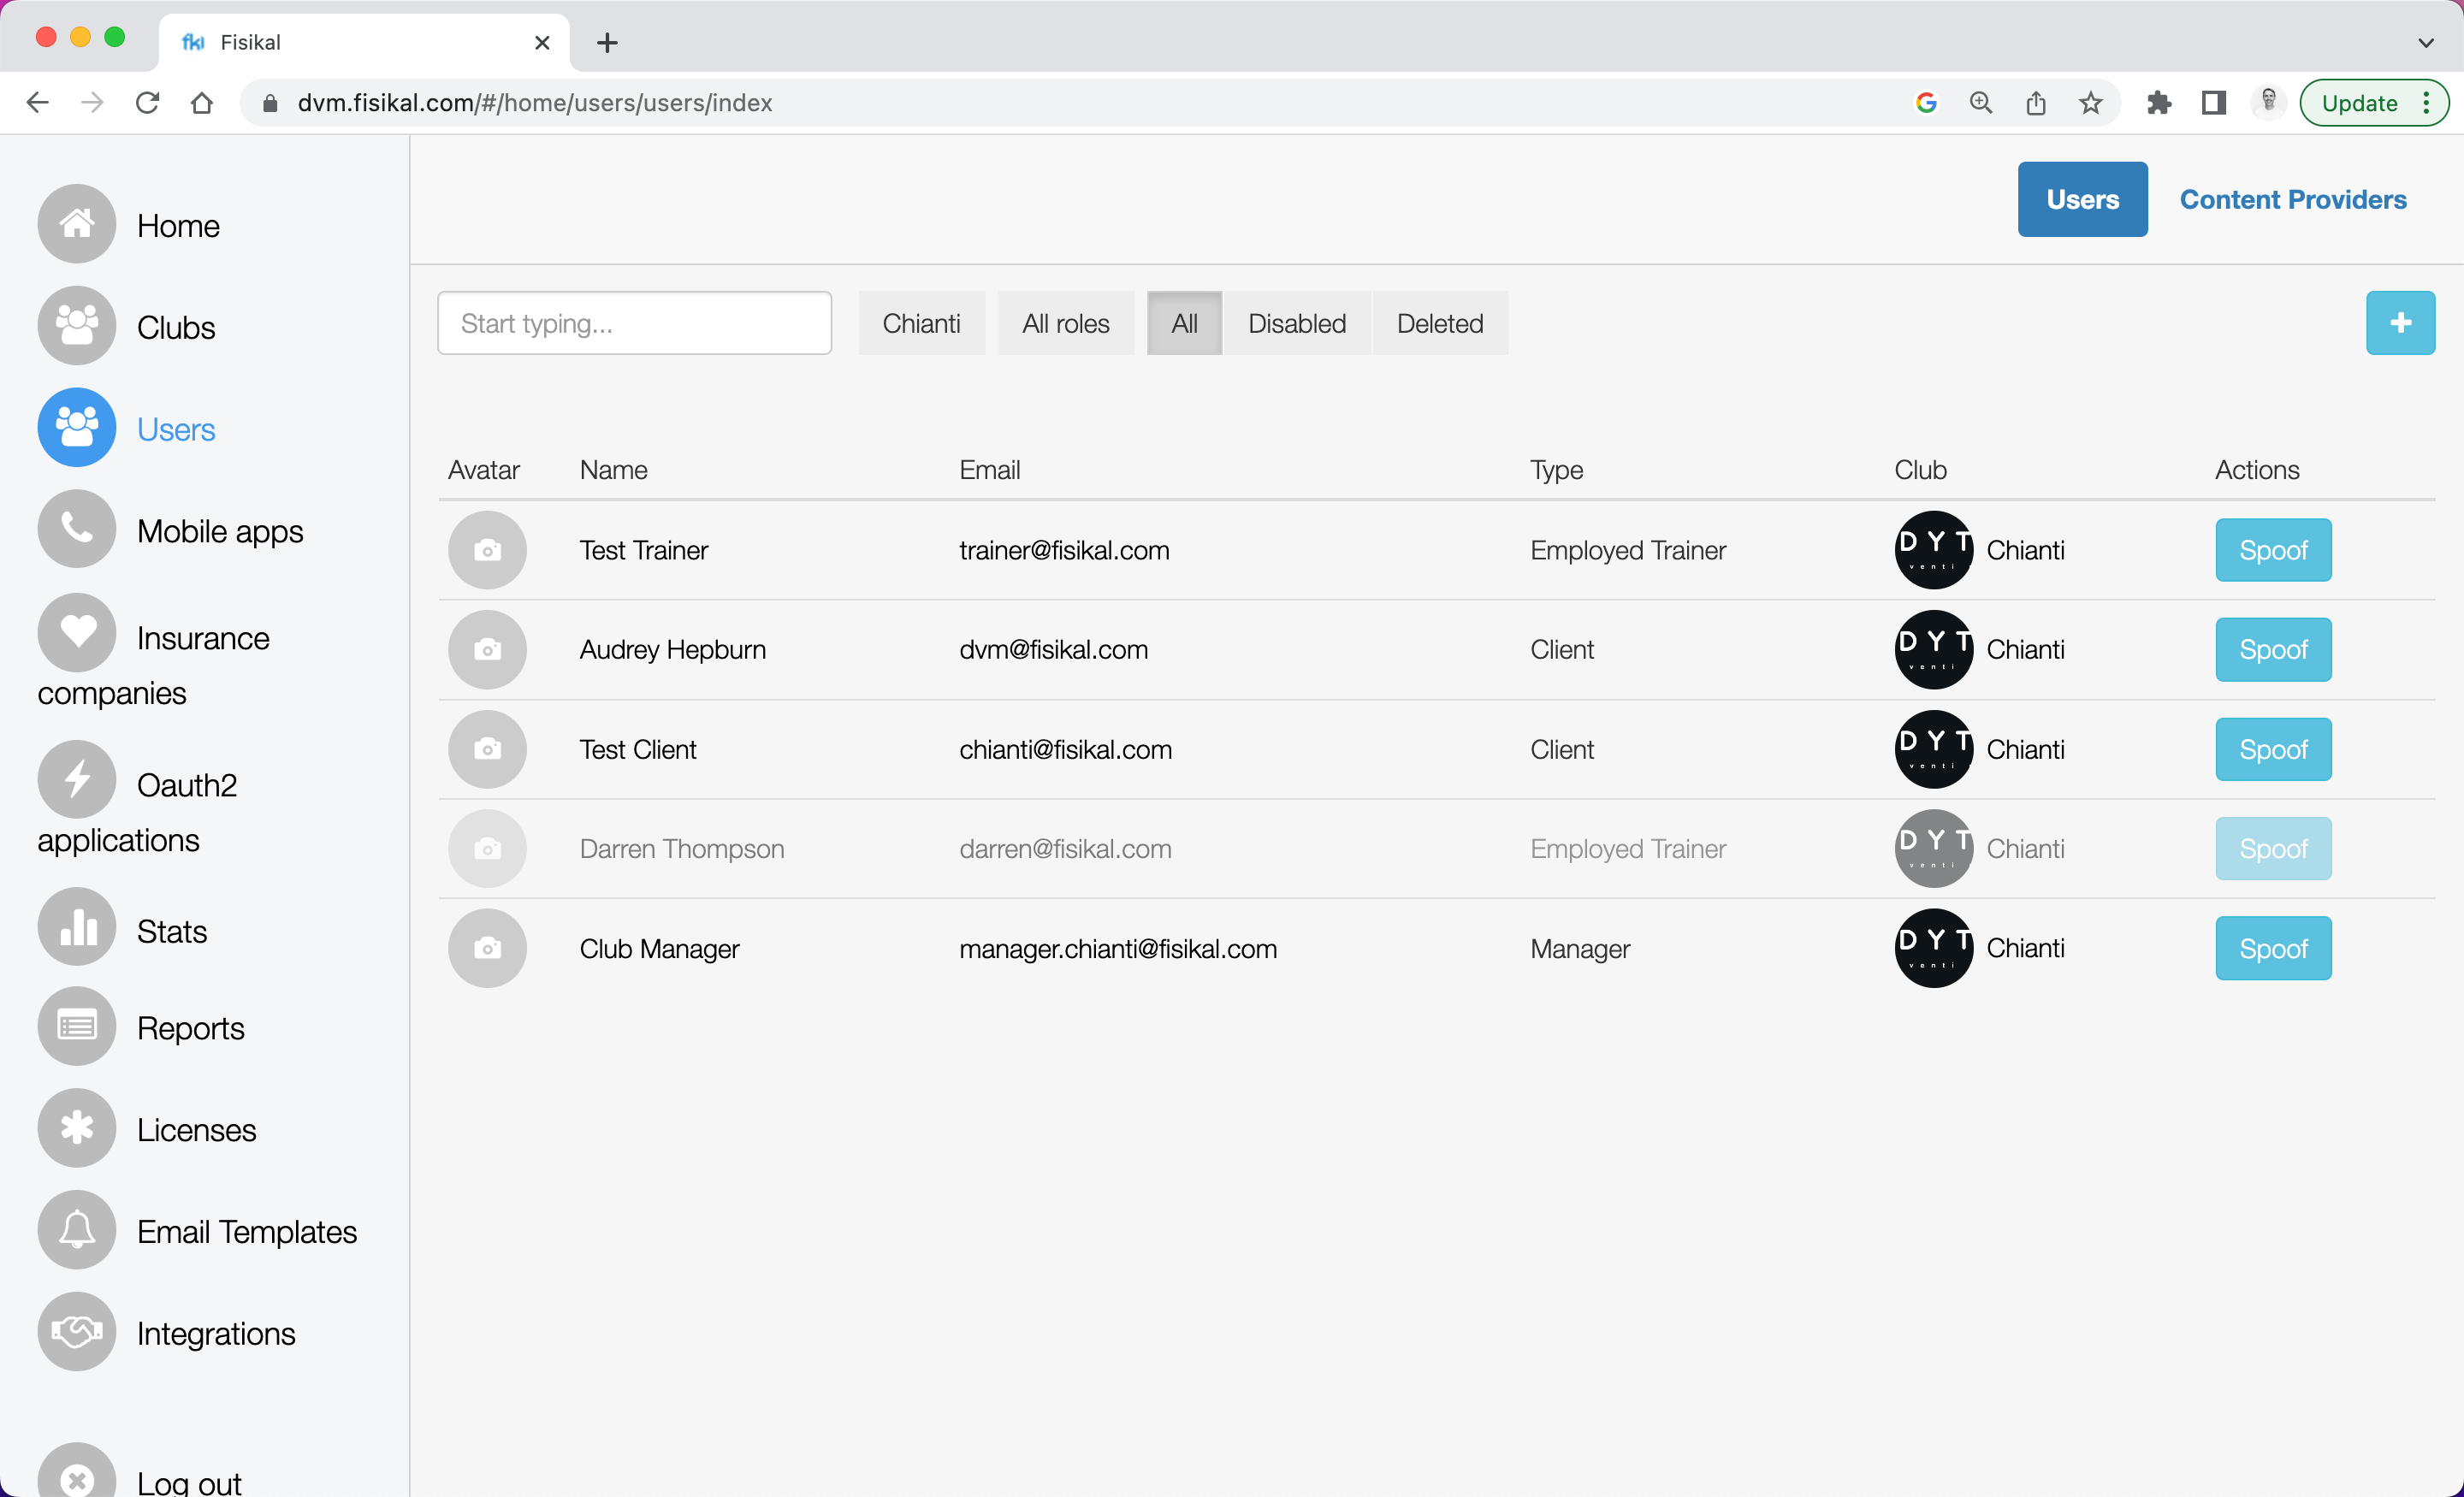
Once you have made the changes, please select SPOOF on the Club Manager profile to log into the club to confirm.
Configure the Location Name
Administrators should select SERVICES and select LOCATIONS. On this page you will see the Location Name for the cloned location. Please change this to show the name of the actual location.

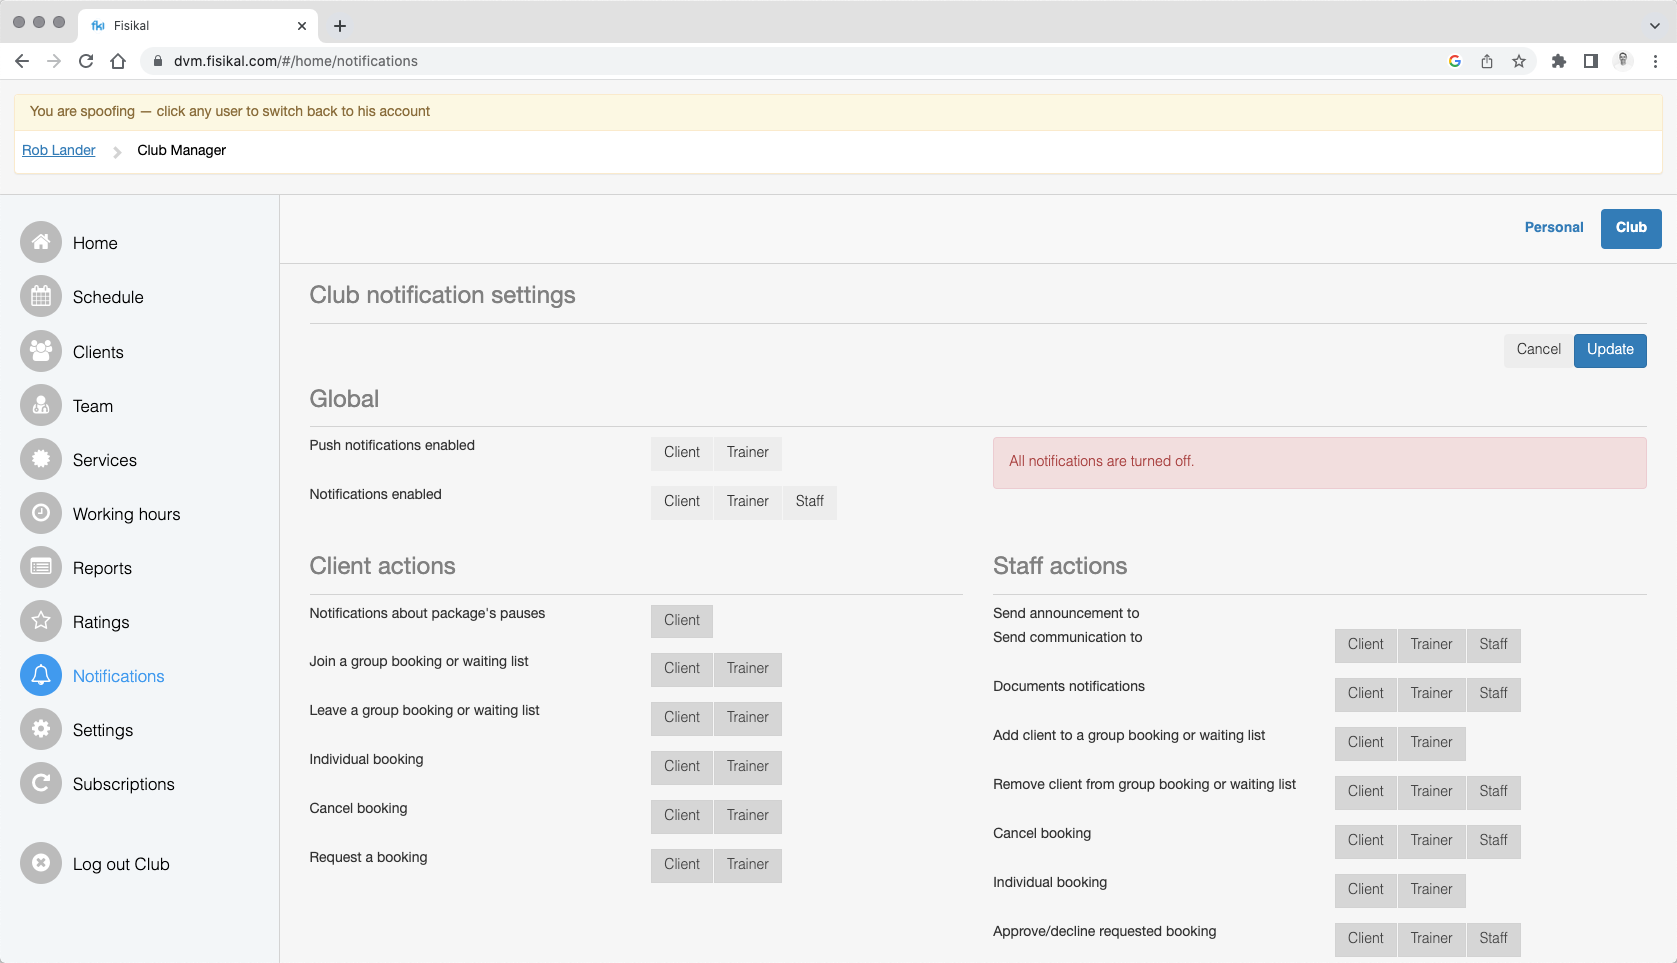
Turn OFF notifications
Before you start using the system, it is prudent to turn OFF all notifications just in case you send a welcome email, package receipt or another transactional email by mistake.
Administrators should go to NOTIFICATIONS and in the GLOBAL section, unselect all of the options. Once completed select the UPDATE button and you will see the following page:
Locations
Administrator should navigate to SERVICES > LOCATIONS and select EDIT on the TEST CLUB location.
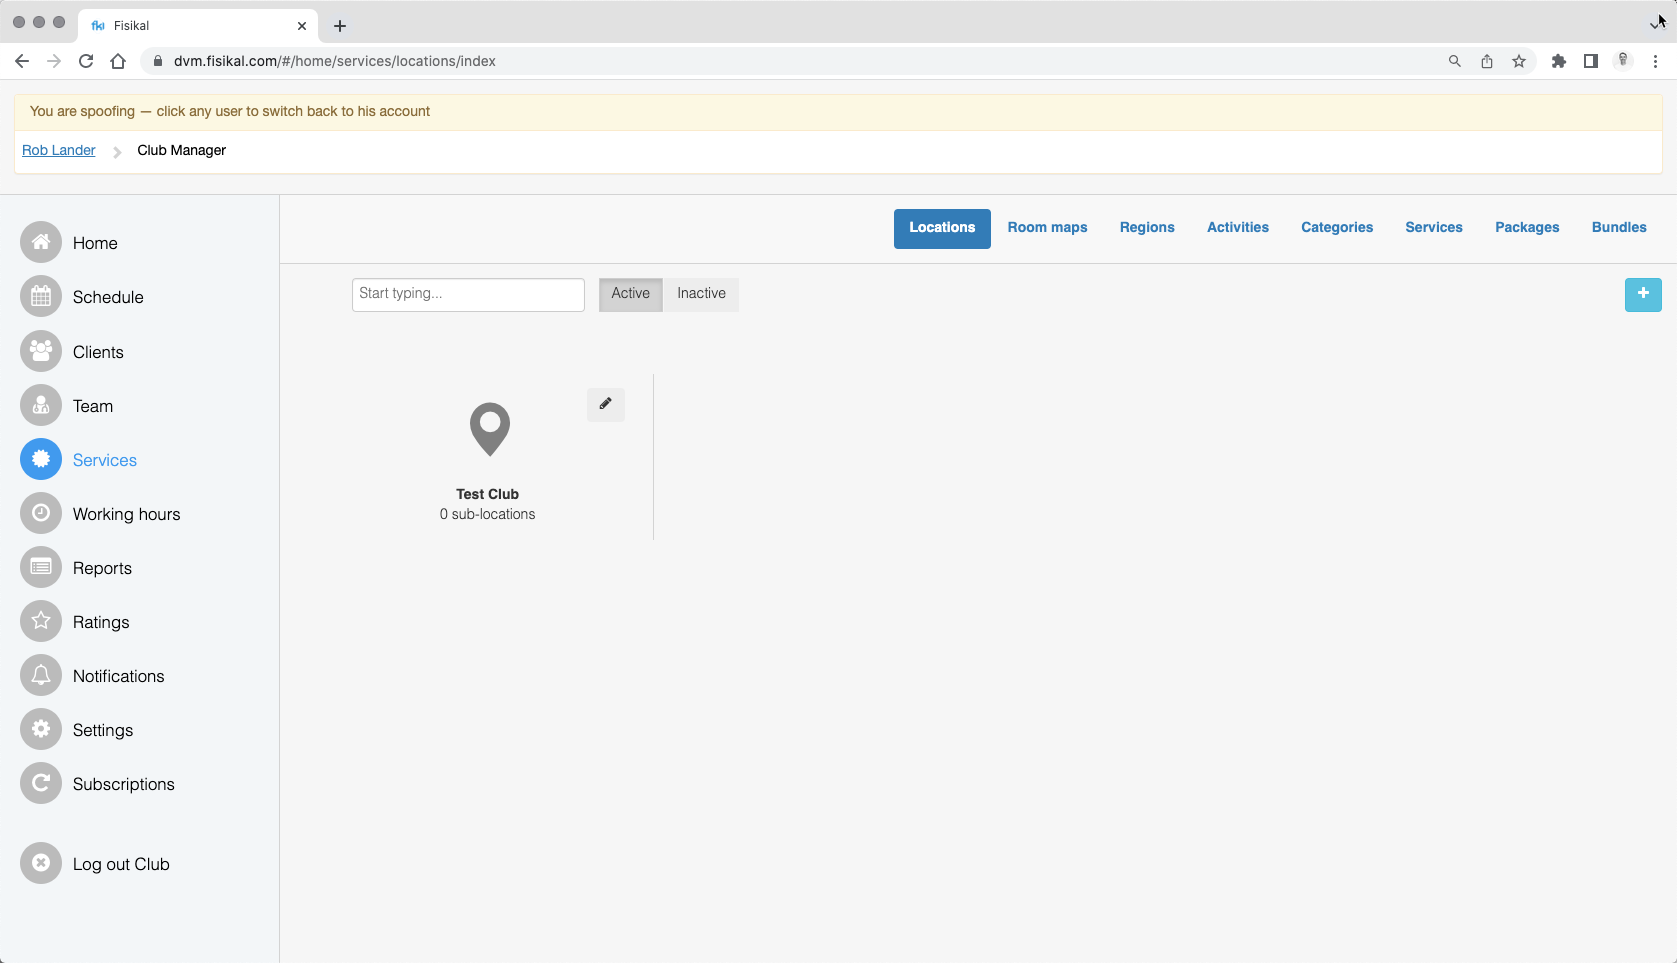
On the EDIT form, enter the name of the club. If the franchisor has multiple locations, please enter them one by one on the LOCATIONS page.

Trainer Administration
Administrators should navigate to TEAM and then click on the TEST TRAINER profile as shown below:
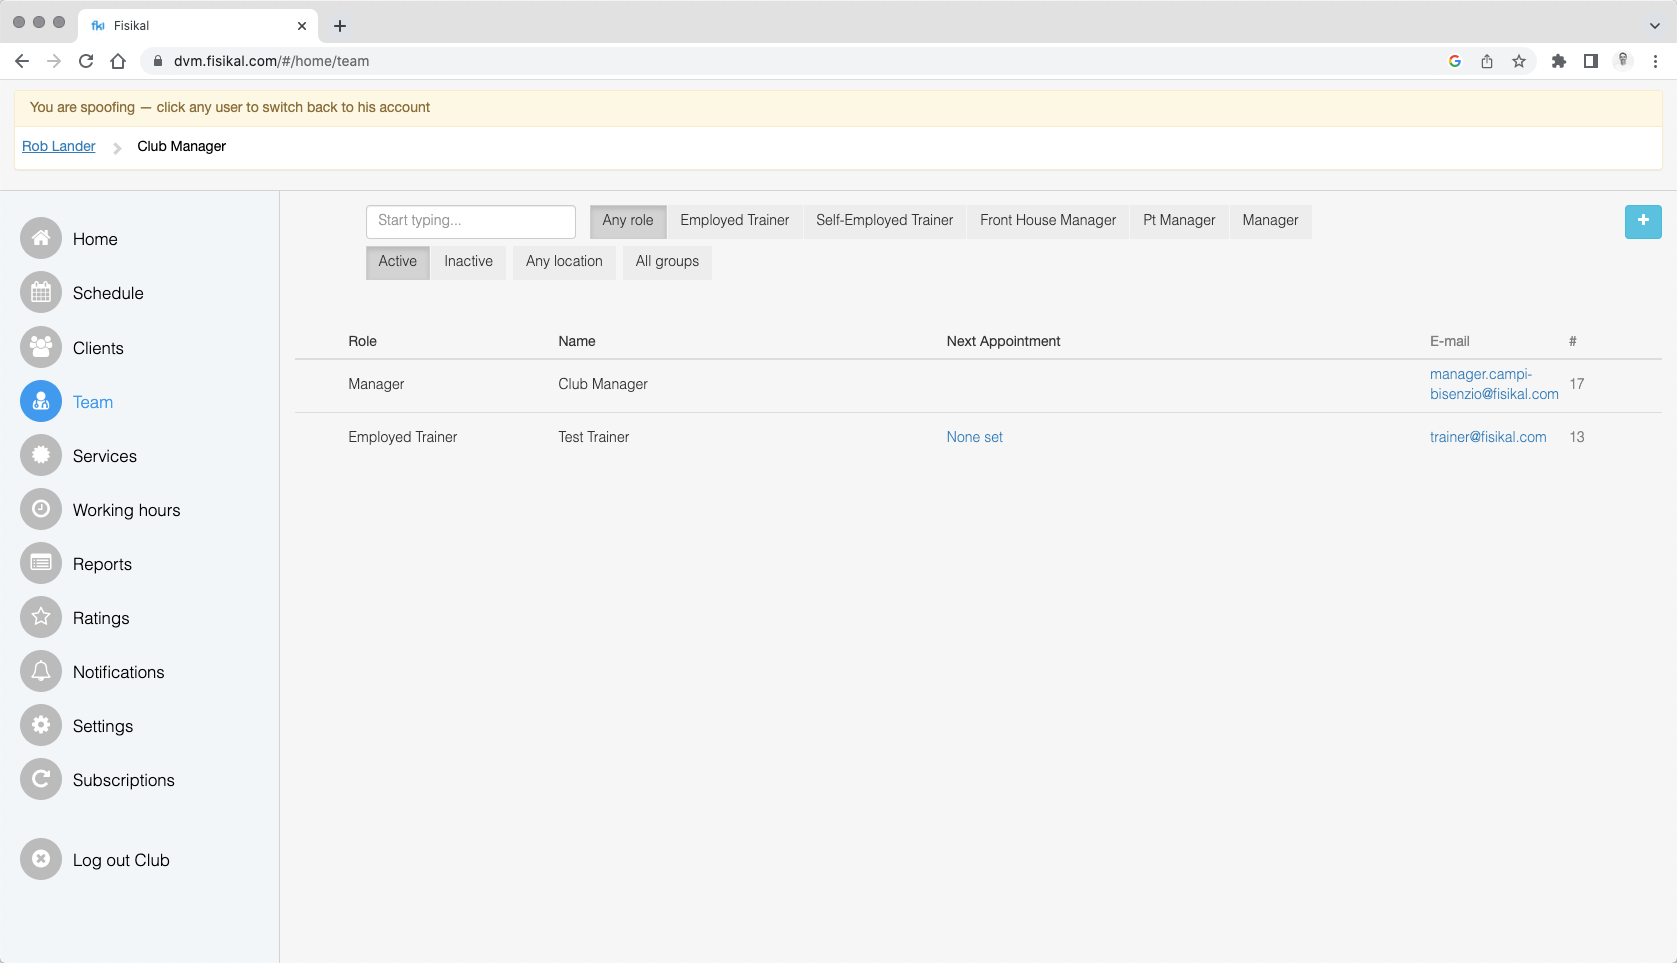
On the TEST TRAINER profile section, select the EDIT button (pencil icon) which is next to the SPOOF button. When the form loads, change the NAME and EMAIL fields so input your actual trainers details, making this change will keep the trainer-service associations in place, so this trainer will already be able to deliver all of the services on the system.

Once you have completed the changes you want to make select the UPDATE button.
If you have more than 1 trainer, you should add the trainer into the system as shown HERE.
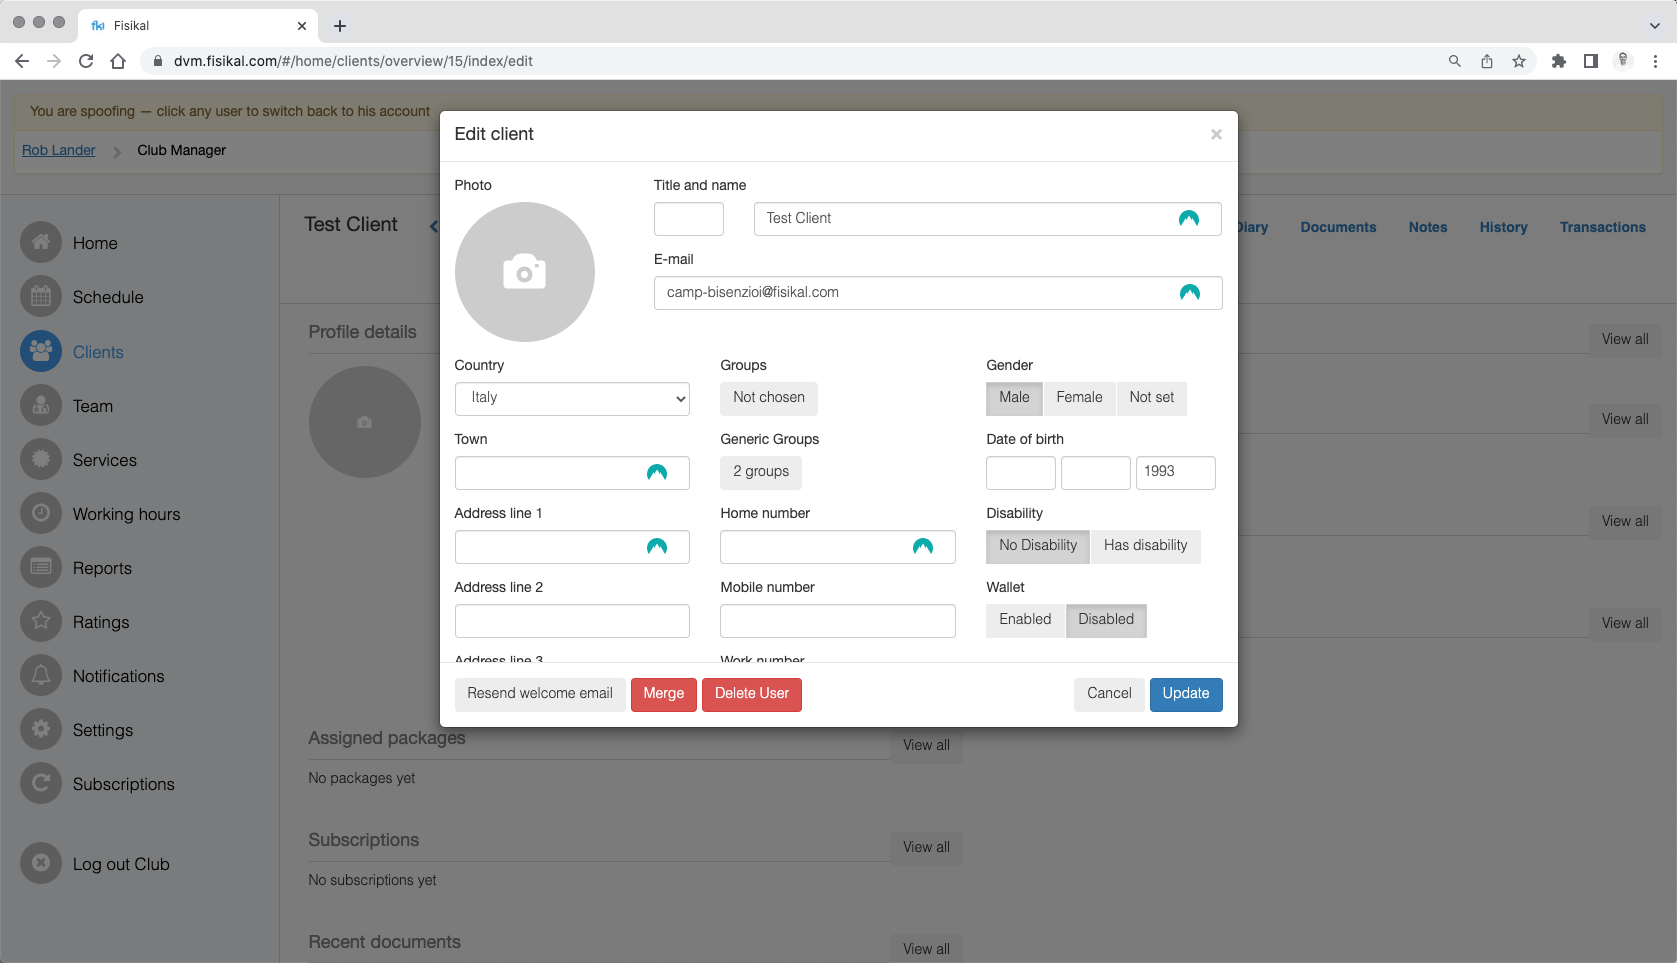
Test Client
Administrators should navigate to CLIENTS and select the TEST CLIENT name.

Once on the SUMMARY page, select the EDIT button (pencil icon) next to the SPOOF button and change the email of the test club to [club.name]@fisikal.com. Select UPDATE to submit the changes.
If you would like to check how clients see the solution from the member app, administrators should change the email address so they can receive the welcome email with their password on.
One such shortcut to test this with is to either use an email address that you are NOT using to log into the administration or staff platform with, for the test client. Another option is for you to use your work email address in a format similar to:
john+test@fisikal.com
The usual email address is john@fisikal.com and by adding the "+test" before the @ symbol, this enables users to receive all notifications from the system to the regular email address (john@fisikal.com). When logging into the system, you will need to use the full amended email address john+test@fisikal.com with the test credentials sent through on the welcome email.
This solution makes it easy for you to test what a client see's in the mobile application, which you can access on the following stores:


Turn ON notifications
Now that the club has been fully configured, administrators should turn ON notifications, so that welcome and all other transactional emails can be sent to customers. Administrators should navigate to NOTIFICATIONS and select the specific users in GLOBAL that they would like to enable transactional notifications to be sent to.
Administrators should check all of the individual sections on this page and make sure you would like to send the notification, once confirmed select the UPDATE button to save the changes to the form.

Notifications will now send successfully from the system. Any team member or client added onto the system will now receive the branded notification emails as configured in the NOTIFICATIONS section.
Resend Staff Emails
Now that notifications are enabled on the system staff users will now need to receive their welcome emails which contain their details of how they can log into the system. To resend welcome emails, administrators should go to TEAM and then click on the name of the team member you wish to send the welcome email to.

Select EDIT and then scroll to the bottom of the form and select RESEND WELCOME EMAIL, the button will immediately fade, to indicate that it cannot be reselected.

Franchise Specific Set Up
Now that the main configuration is in place for a franchisee, administrators should make sure they go through the following items:
- Configure Payment Settings
- Adding Trainers
- Adding Clients
- Adding Bookings
- Adding Payments
Go Live Readiness
Now that your system is configured ready for the franchisee, you should check the following:
- Notifications are enabled
- Payment settings are added
- Services and trainers are correctly assigned
- All clients are added into the platform
- All bookings are associated correctly to client and trainer profiles
- All packages are associated correctly to client profiles
- Credit balances are correct for each client