![White Logo Blue Banner copy-100.jpg]](https://knowledge.fisikal.com/hs-fs/hubfs/White%20Logo%20Blue%20Banner%20copy-100.jpg?height=50&name=White%20Logo%20Blue%20Banner%20copy-100.jpg)
Working Hours
Working Hours management allows your Trainers to select when they are working or not. You can configure what specific Services you deliver at specific times of the day. Applying service booking functionality is called Service Delivery Hours (SDH).
Click the video below or follow our step by step guide to set up your Working Hours here.
Service Delivery Hours (SDH)
Setting up SDH allows you to link Services and Working Hours to show that you are only able to deliver specific Services at specific Working Hour periods.
For more detail on Service Delivery Hours, click here.
Add a Booking
- The Trainer that will deliver the booking is associated to the Service that you want to book
- The Trainer is working at the Location that you want to book
- The Trainer is working and they are able to deliver this Service at the selected time as the Service Delivery Hours (if applied) enable them to do this
- The Location or Sub-Location has not reached it's booking limit for available bookings
If all these conditions are met, you can create a booking by navigating to Schedule and clicking the ![]() button to view the 'Book and appointment form':
button to view the 'Book and appointment form':
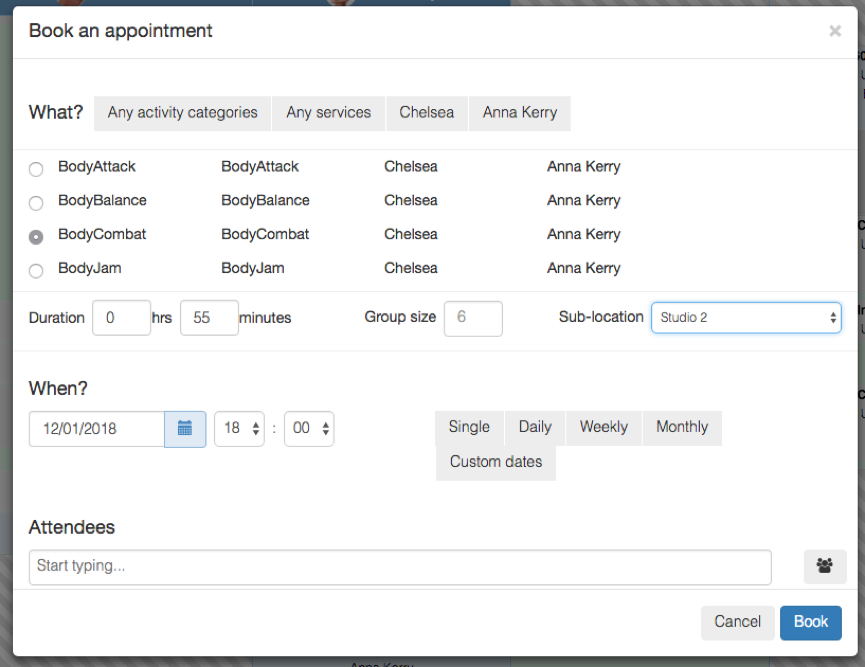
- An Activity (from the drop down box e.g. Bodyfit)
- A Service
- A Location
- A Trainer
Once you have found and selected the activity you need to select the radio button for this Service, this will show the default settings for the duration, group size and sub-location.
Then select the time and date you would like the booking to be.
Review your Schedule
Your services and packages have already been created and now complete with your working hours, you should have a schedule that reflects your business week.
Rob will walk you through how to find your “SCHEDULE” and its different display options, including day view, weekly and monthly view, or by services and locations. Click below to watch the video.
Create your Notifications
The “NOTIFICATIONS” feature on the left hand side of your screen allows you to control which communications are sent to you and your Clients smart phone or email.
Click “NOTIFICATIONS”. You'll see two sub-categories at the top right of your screen called:
1. Personal
2. Club
1. Personal
This allows you the Manager to control what notifications you receive personally and what notifications are received by Trainers (in you Trainer profile) and your Clients.
As you are being set up as TRAINERS in the system, this section only concerns you when you want to Go-Live as you can control the GLOBAL SETTINGS for notifications.
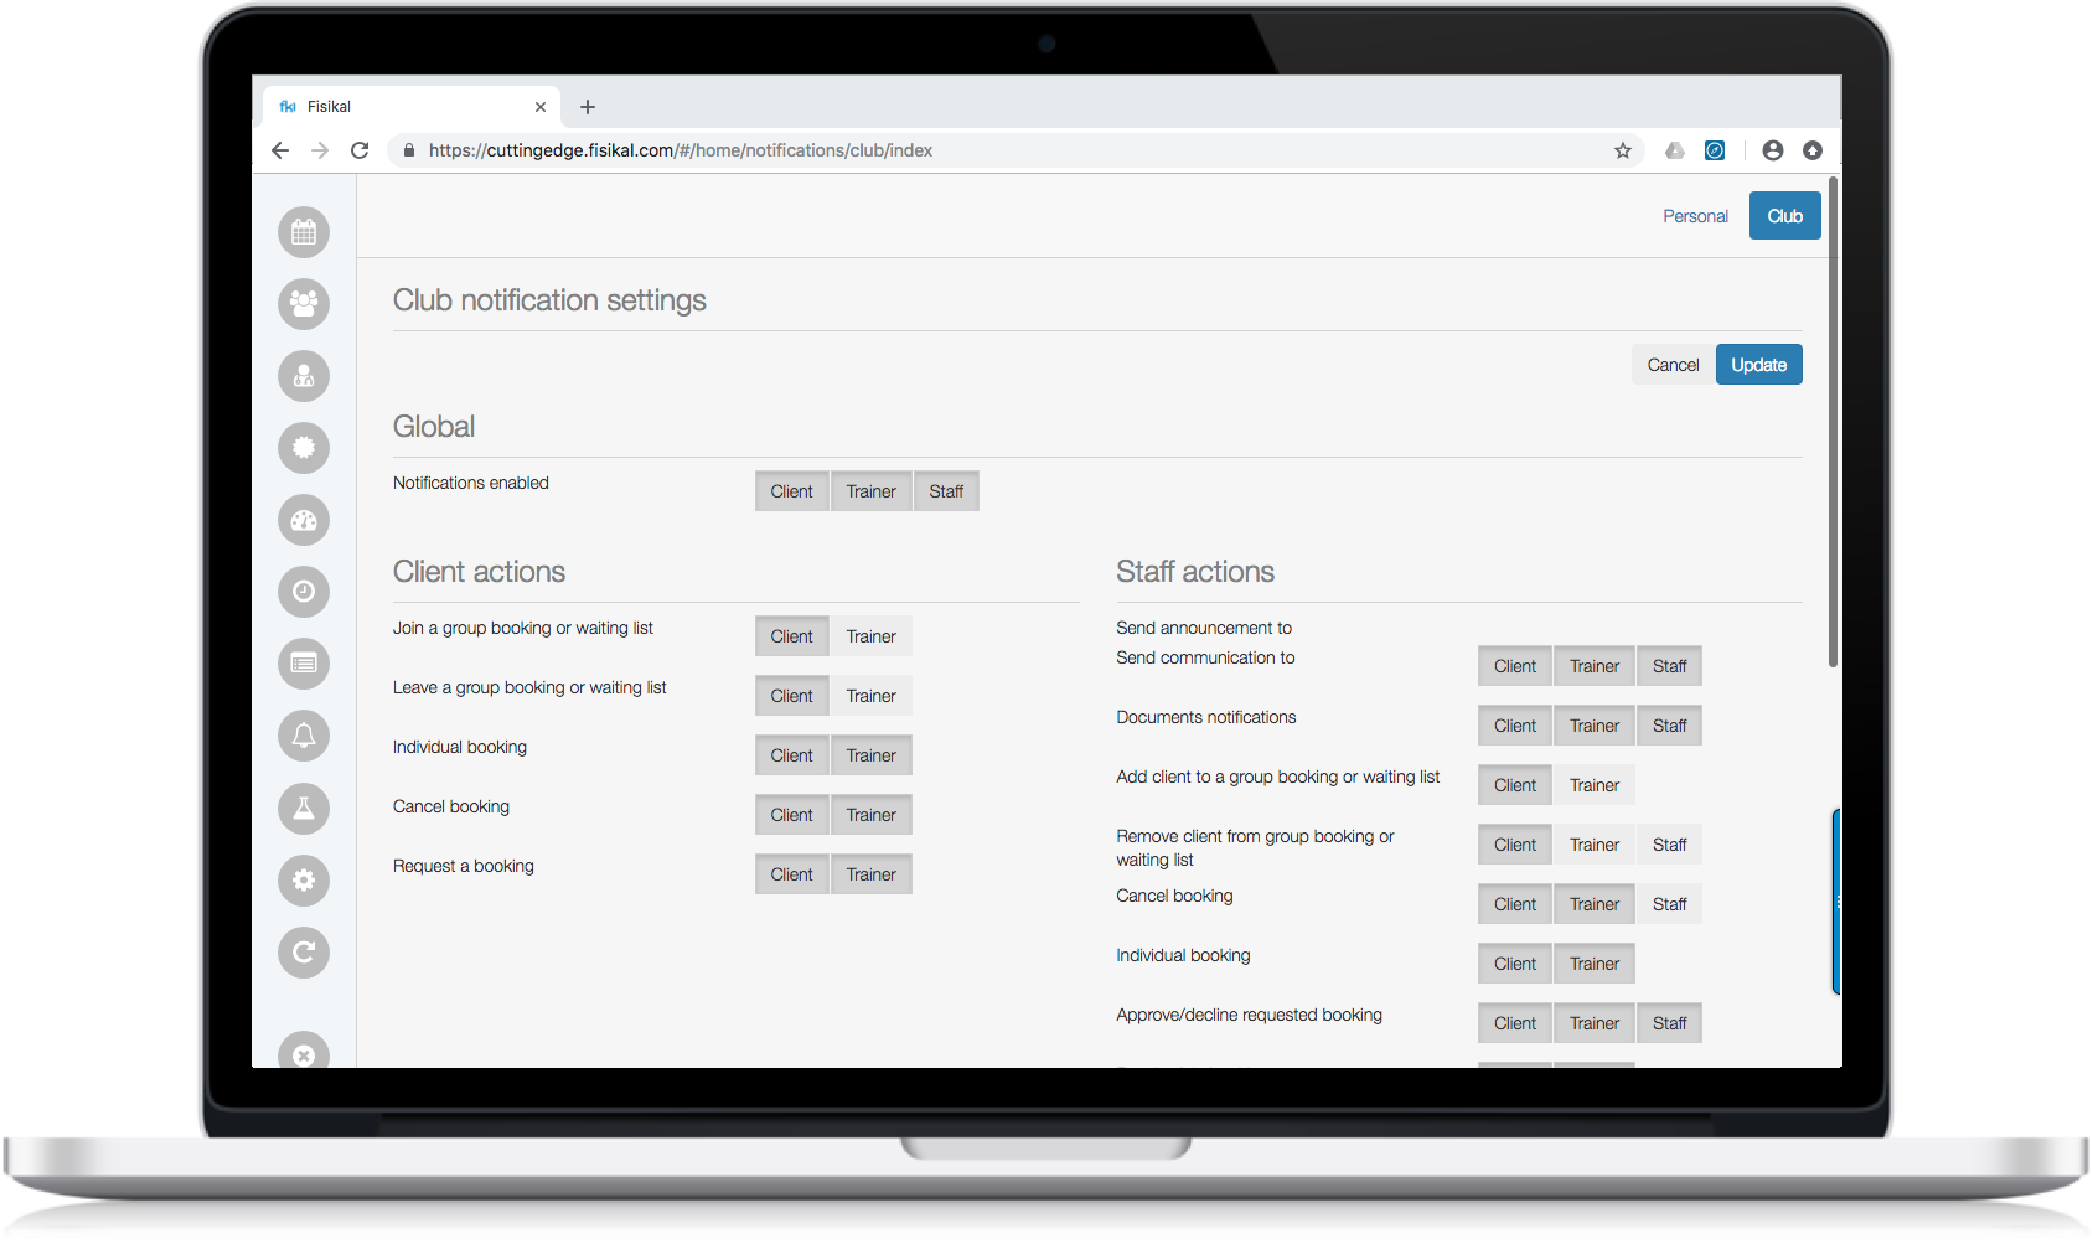
2. Club
This allows you as the Manager to configure which specific notifications are sent by role and type.
When you do Go-Live you should make sure that CLIENT and TRAINER notifications are turned ON.
Click here to learn more about Notifications.
Manage your Settings
Click “SETTINGS" on the left hand side of your screen to get started. Six sub-categories will appear at the top of your screen. You can use these to customize your account.
We will take you through the key features that will be of most interest to you when getting started.
- Profile and Preferences
- Club
- Payment Settings
- Discounts
- Groups
- Email Templates
This section allows you to change your MANAGER profile. You should not need to do this.
You will need to know how to do this when you log in as your TRAINER profile to check your preferences and enter your payment.
To learn more about Profile click here.
Preferences
You should not need to change Preferences for your MANAGER profile. You will need to do this in your TRAINER profile.
To learn more about Preferences click here.
Club
This area is an important area of the system where you can change your logo, adjust cancellation periods, open and close hours, social media links etc.
To learn more about Club click here.
Payment Settings
You do not need to change these in your MANAGER profile. You will need to add these in in your TRAINER profile so your Clients can purchase Packages with you.
To learn more about Payment Settings click here.
Discounts
If you offer discounts to some of your Clients here is where you do it.
To learn more about Discounts click here. You will need to add Discounts as GLOBAL discounts for them to be shown in your TRAINER profile.
Groups
This is a great way to manage Clients within the system. You can link Users to Media, Bookings and Communications.
To learn more about Groups click here.

What's coming next?
Nice work. Next Rob will show you how to add and edit workouts, upload your own exercise videos, or use existing videos and upload documents such as PDFs.
Check your inbox for emails from NoReply@fisikal.com and you’ll find your next quick step-by-step guide ready for you. Don't miss the HELP button which you can find at the footer of every page. You can get in touch with the Customer Support team 24/7 with any questions.
Follow us on social to keep up to date with all our new features and tips on setting up on Instagram and Facebook.
Thanks,
Team Fisikal
PROGRESS UPDATE: YOU HAVE COMPLETED 4 OF 6 STEPS
NEXT ARTICLE: Article #5 - Launching your Programmes