![White Logo Blue Banner copy-100.jpg]](https://knowledge.fisikal.com/hs-fs/hubfs/White%20Logo%20Blue%20Banner%20copy-100.jpg?height=50&name=White%20Logo%20Blue%20Banner%20copy-100.jpg)
You can use an integration using Zapier to connect Fisikal to other systems.
For example:
- Create a Zap that listens to the clients list in Fisikal and if there is a new client created then it adds their details to a Mail Chimp audience.

- Use a Zap to import in a list of clients from a Google Sheet

- When a new client is added to Hubspot you can trigger that client to be created in Fisikal too.

Check on the Zapier website which applications are available for you to connect to.
Steps to create a Zapier Zap
- Sign-up to Zapier
- Request access to the Fisikal Zapier integration
- Create a user in Fisikal and generate their Auth Token
- Create Zap in Zapier
Sign-up to Zapier
Complete sign-up at Zapier.com
Use an email account that will still be around even if staff changes. Use a manager or company account, and make sure the credentials can be retrieved by your team. Fisikal are not responsible for this account and cannot support it.
Depending on the frequency of the zap running (eg one new Fisikal client equals one zap task) you may need to use a paid plan to cover the quantity of zaps in a month. but you can start with a free plan to get going.
Check after sign-up whether the other system you are connecting to is available and whether it is a paid for option.
Request access to the Fisikal Zapier integration
Request to be invited to the Fisikal Zapier Integration, the Fisikal Support team can do this.
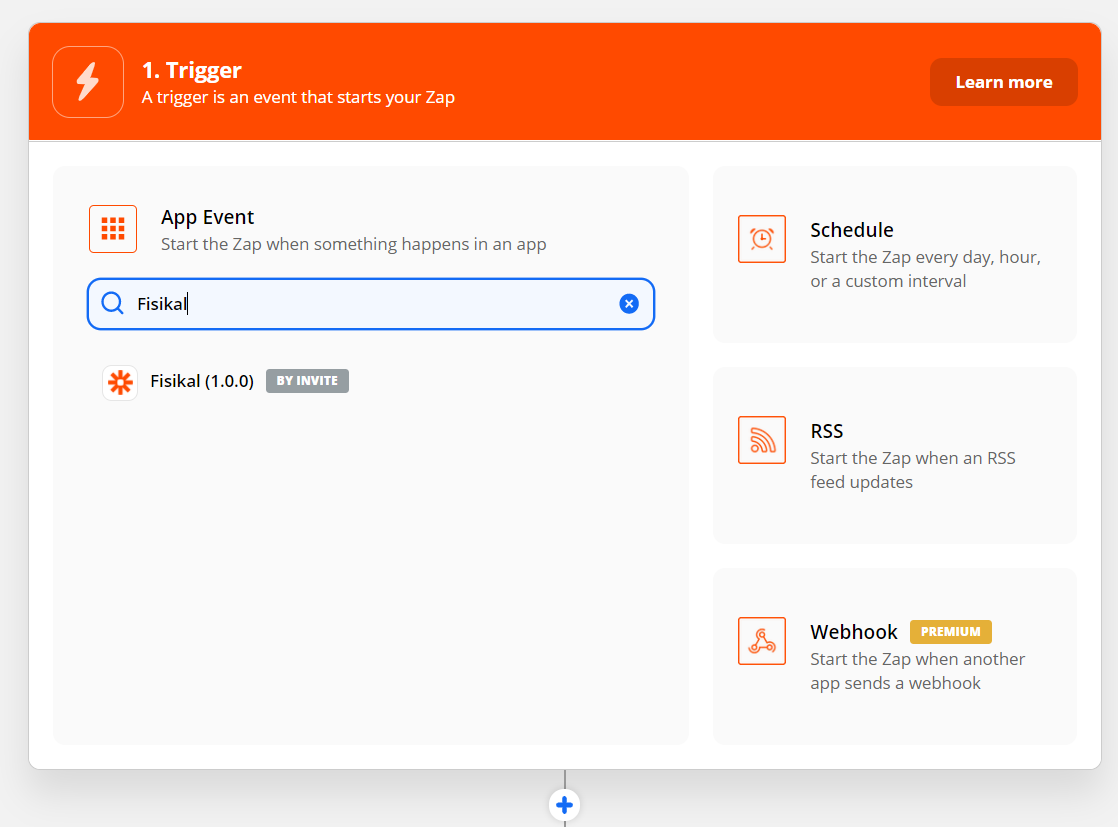
You will receive an email with instructions to accept the invitation in Zapier. Once this is done you will be able to select Fisikal from the list of applications in Zapier.
It will have a BY INVITE tag.
Create a user in Fisikal and generate their Auth Token
We recommend you create a new user in Fisikal that will be used as the user in Zapier, so that any action that is being done by Zapier can be identified if necessary.
Log in to Fisikal and create a new user in the Team area:
- We recommend creating a Manager user for this role
- Give them a name like: Zapier
- Make sure they have a Home Location
- They do not need an email address nor a password.
Now you must create an Auth Token for the user, this functions like a username and password and is precious, do not share it widely.
- Spoof as the user
- Navigate to Settings > Preferences
- Edit the Schedule Settings
- Set the 'Show Schedule in External Calendar' option to ON
- Click the 'Google Calendar' option
- Copy the 128 character auth_token from the box on the right, after where it says auth_token=

- CANCEL the form, now you have the token copied, so no need to save anything on the form. Proceed with creating the Zap in Zapier.
Create Zap in Zapier
Log in to Zapier and assemble the steps of your Zap.
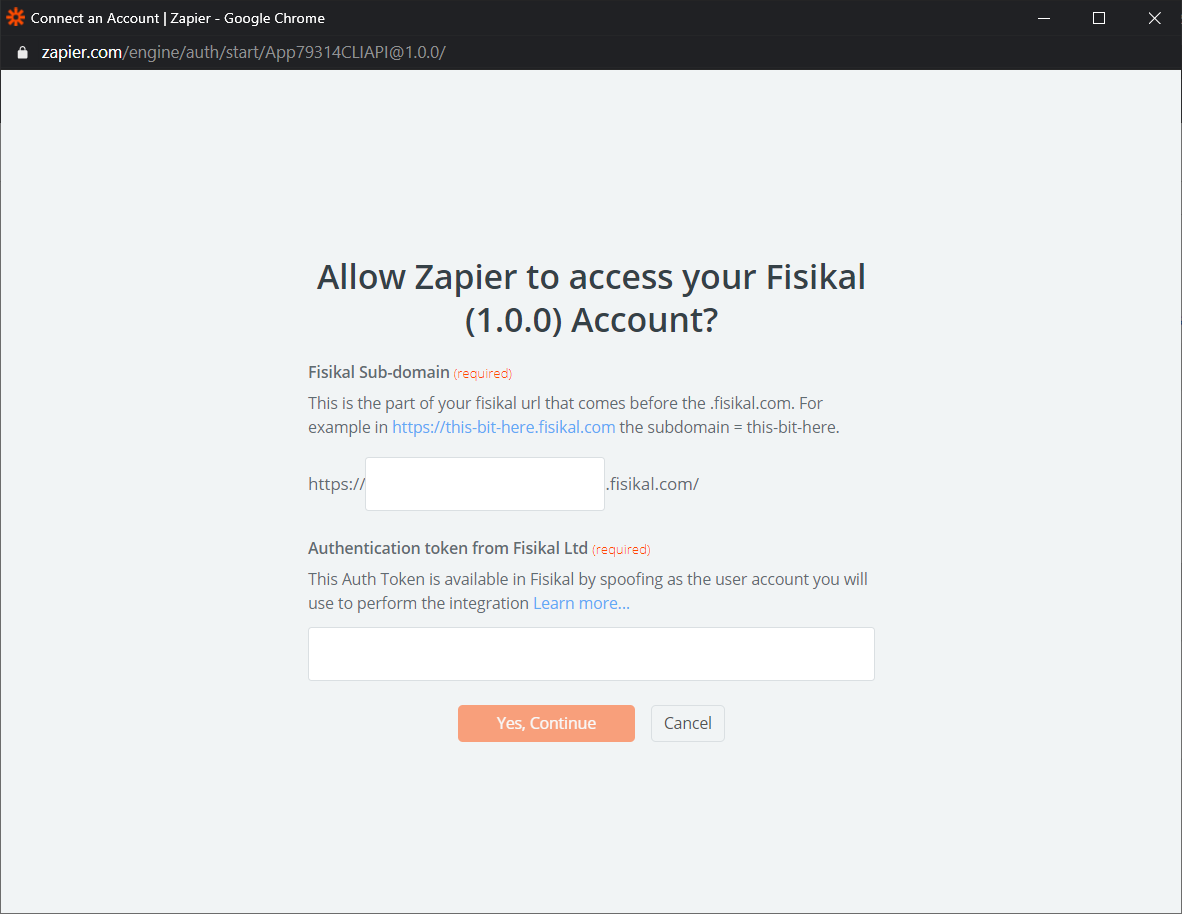
When it comes to adding the Fisikal step of the Zap you will be required to add an account.

At this point you must enter:
- The sub-domain of your Fisikal instance
- The Auth Token obtained above