![White Logo Blue Banner copy-100.jpg]](https://knowledge.fisikal.com/hs-fs/hubfs/White%20Logo%20Blue%20Banner%20copy-100.jpg?height=50&name=White%20Logo%20Blue%20Banner%20copy-100.jpg)
There are a few things you need to do before going live as follows:
- Configure Club Logo
- Check Email Templates
- Embed a login widget on your website (if you would like)
- Add your Clients
- Add Packages to your Clients
- Add Client future bookings
- Configure your Payment Settings
- Send Welcome Emails
Configure Club Logo
To configure your Club logo follow the step by step guide here.
Check Email Templates
You can send a number of emails using the email templates provided. You can also customise these templates as you like.
For more detail on the email templates and how email notifications are set up, click here.
Embed a login widget on your website (optional)
If you would like to embed a Login widget on your website, follow the step by step guide here.
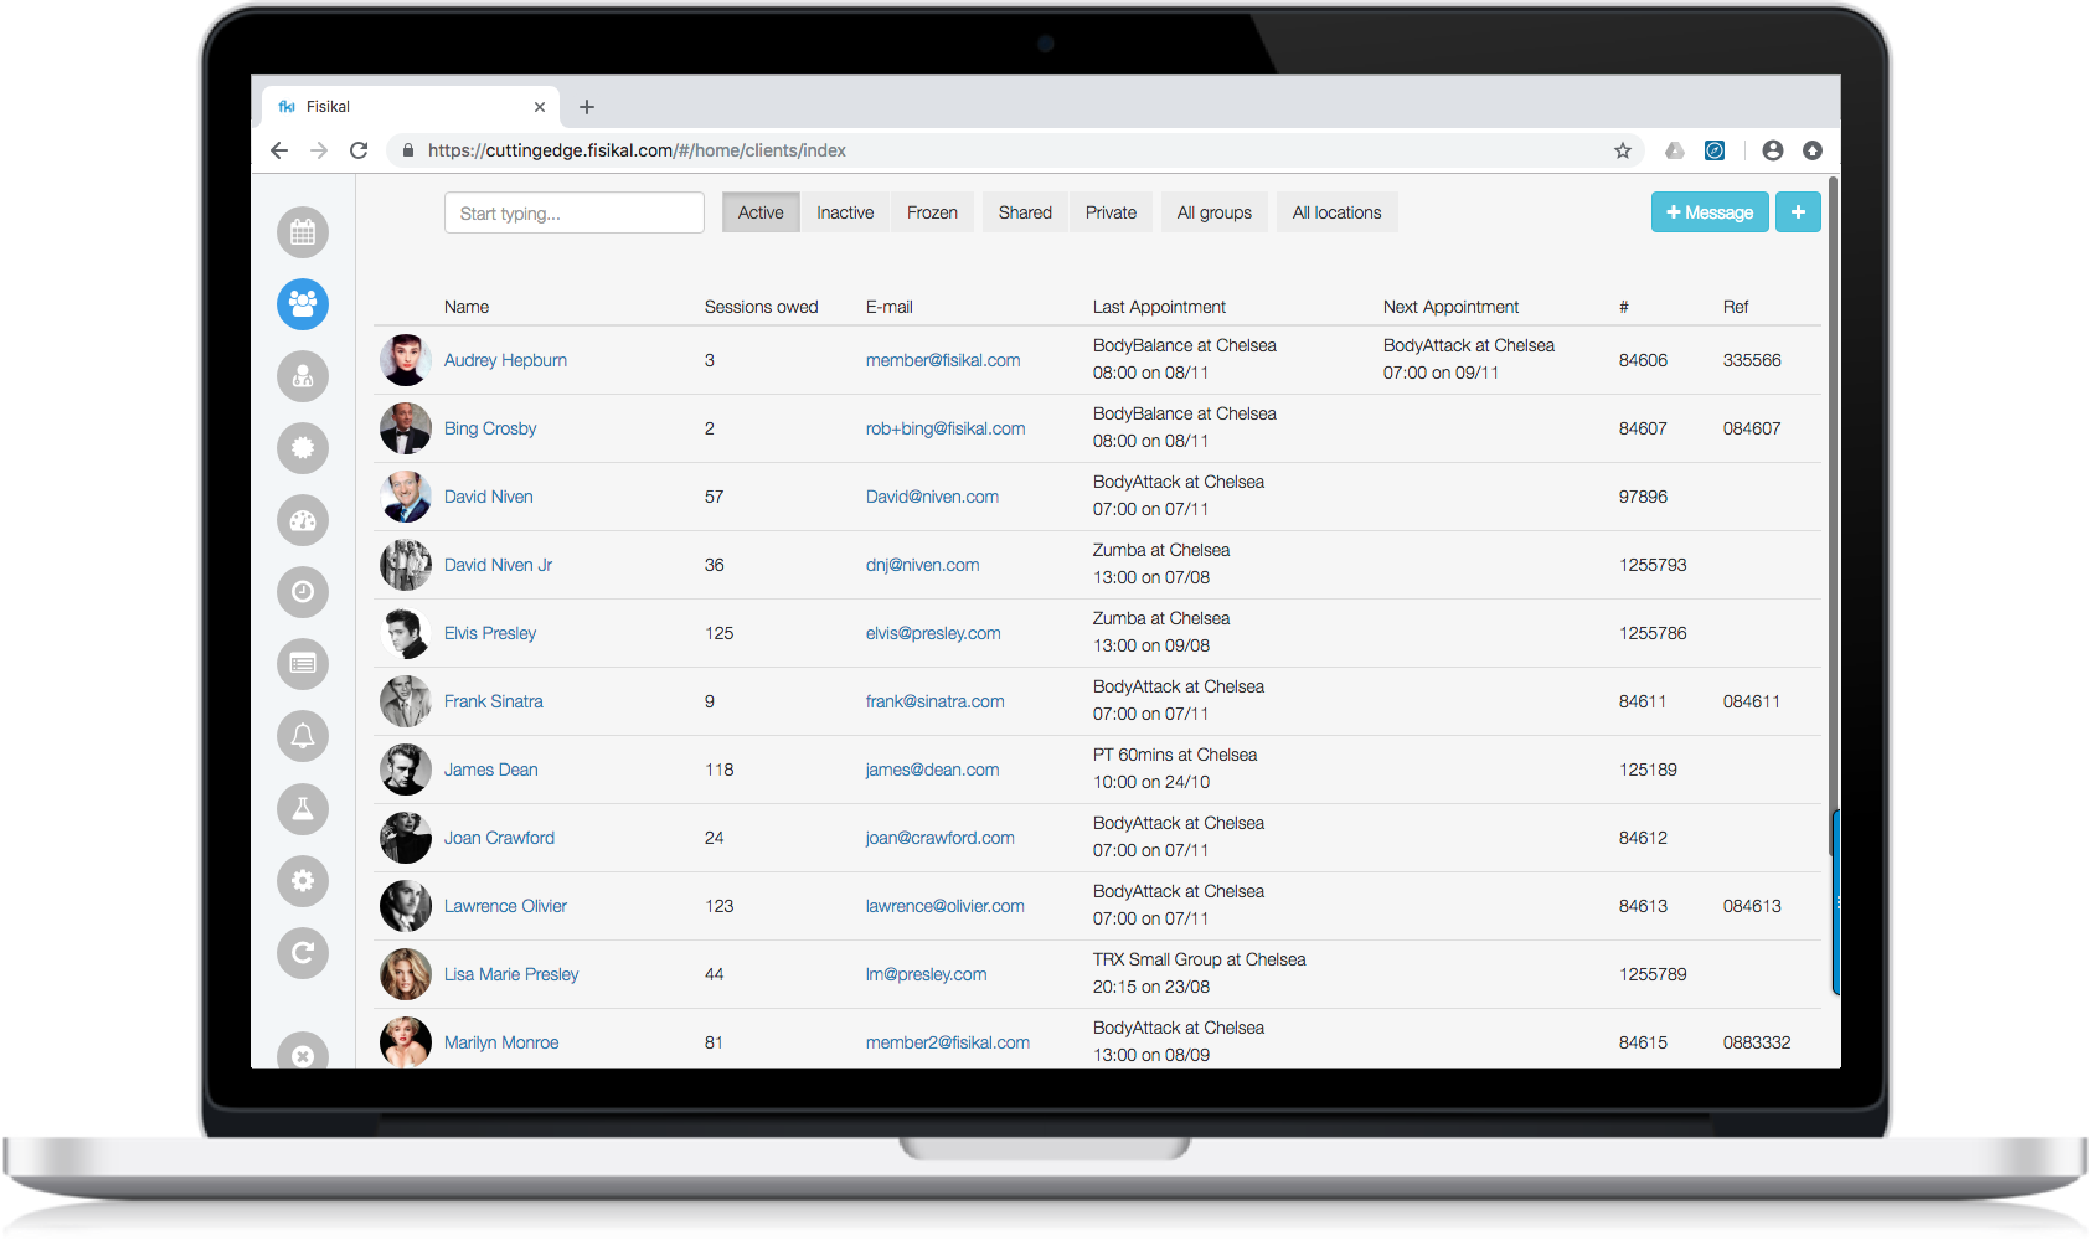
Add Your Clients
It's now time to invite all of your Clients. To recap on adding and editing Clients (which we covered in Email 2) click here.
Tip: Now is a great time to log in the member app using your Test Client login details to see how your site will look to your Clients.
Add Packages to your Clients
To learn more about assigning, adjusting, refunding and pausing Packages and adding an instalment to Clients click here.

Add Client Future Bookings
It is important to make sure that your future bookings are added AFTER you have added the correct credit balance for your Clients, so that any future bookings deduct from the balance from now onwards and do not mess up the credit balance from past sessions.
To learn more about Bookings click here.

Configure your Payment Settings
To set up a new Payment Setting or edit Payment Settings, click here for a step by step guide.
Send Welcome emails
When you're happy that your Email Templates are ready, you can send out your welcome emails. here's how to do it:
- Click SETTINGS on the left hand side of your screen
- Click EMAIL TEMPLATES from the top of the screen
- Final checks / notifications / etc
- Login as with your MANAGER profile
- Go to NOTIFICATIONS > CLUB and on the GLOBAL section select CLIENT and TRAINER options and select UPDATE and then REFRESH your page (CMD R)
- Go to NOTIFICATIONS > PERSONAL and make sure GLOBAL settings are turned ON
- Go to CLIENTS and for each Client do the following:
- Go to Client Summary Page and select PROFILE > EDIT
- Select RESEND WELCOME EMAIL > UPDATE
Your Clients should receive their Welcome Email within about 5 minutes. Your Clients can then log in to their own Member App, book PT sessions, packages and make payments to you. You’re just getting started.

What's coming next?
That’s it - you’re ready to go live!
Don't forget to follow us on social to keep up to date with all our new features and tips on managing your business smarter on Instagram and Facebook.
Don't miss the HELP button which you can find at the footer of every page. You can get in touch with the Customer Support team 24/7 with any questions.
Thanks,
Team Fisikal
PROGRESS UPDATE: YOU HAVE COMPLETED 6 OF 6 STEPS